
As someone who loves graphic design, you probably know how important it is to have a transparent background in your images. Whether you want to use the image on a website or combine it with other graphics, removing the background and making it transparent is an essential step. In this article, we’ll show you how to create a transparent background on Photoshop, so you can take your designs to the next level. Follow these steps and learn how to make your images stand out with a clean, professional look.
1. Introduction to creating a transparent background in Photoshop
If you want to make an image stand out, the best way is to add a transparent background. But how do you do it? The first step is to open the image file in Photoshop. Once the file is open, you can use the magic eraser tool to remove any unwanted background. Alternatively, you can select the subject using the Select Subject option. Now create a new file and make the background transparent by selecting the ‘Remove Background‘ option. To make the transparent area in the image, use the magic wand or lasso tool to select the area you want to be transparent. Finally, finalize the transparent background by selecting the desired area using the Select > Subject option in Photoshop. By following these simple steps, you can easily create a transparent background on Photoshop and make your image stand out.
2. Opening an image file on Photoshop
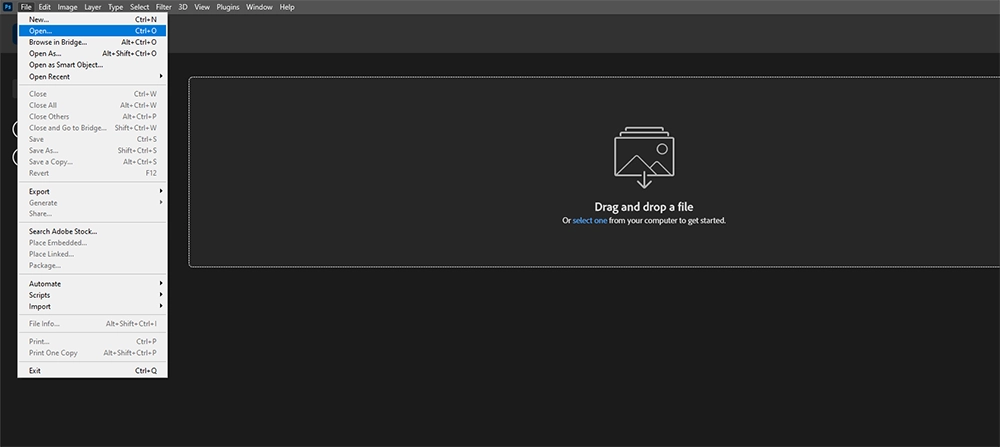
After learning about creating a transparent background on Photoshop, the next step is to open the desired image file in the software. This can be achieved by going to the “File” tab and selecting “Open” from the drop-down menu.
Once the image file is opened, it is recommended to create a duplicate layer of the image. This can be done by pressing Ctrl A followed by Ctrl J. This will create a new layer, ensuring that the original image is kept intact. By doing so, users can work on the duplicate layer without worrying about damaging the original image. Opening the image in Photoshop is a crucial step in creating a transparent background, as it allows the user to perform further edits on the image, such as resizing and optimization. With the image now opened and duplicated, the next step is to remove the background using Photoshop’s tools.
3. Removing the background using the magic eraser tool
Now that you have opened your image file in Photoshop, it’s time to remove the background using the magic eraser tool. This tool can easily remove any unwanted areas of your image with similar colors in just one click or tap. Simply select the Magic Eraser Tool and click on the background you want to remove. The tool will automatically remove any pixels of a similar color to the one you clicked on.
To make sure you don’t accidentally delete any parts of the subject, it is recommended to zoom in to the image as much as possible before using the tool. The shortcut key for this tool is also W, making it easy and convenient to access. Once you have removed the unwanted background areas, move on to the next step to create a transparent background for your image.
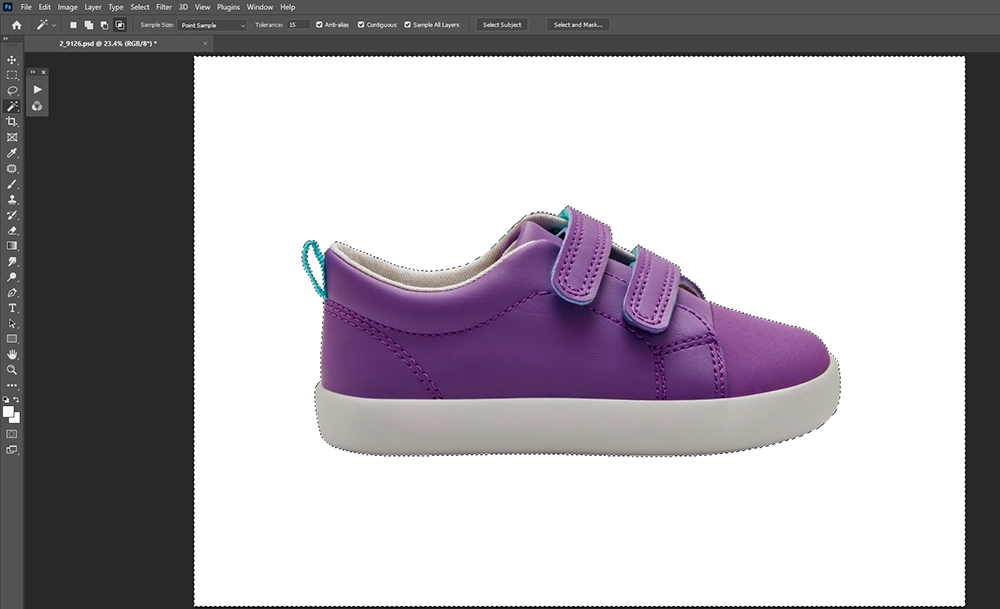
4. Selecting the subject using the Select Subject option
Once the background is removed, it’s time to select the subject. Fortunately, Photoshop has a nifty feature known as the Select Subject option. This tool analyzes the image and intelligently creates a selection around the subject using artificial intelligence. To use it, simply click on the subject you want to isolate and let Photoshop do the rest. For more complex subjects with intricate details, refine the selection using the Select and Mask option. Once you have the perfect selection, it’s time to move on to creating a transparent background.
5. Creating a new file to make the background transparent
Once the background has been removed using the magic eraser tool and subject has been selected using the Select Subject option, it’s time to create a new file to make the background transparent in Photoshop. To do this, one must go to File > New and set the dimensions of the image. It is important to choose a Transparent background in the Background Contents dropdown menu to ensure the background stays transparent. Once the new file has been created, the user can begin to remove any remaining parts of the original background using the Remove Background option. From there, the user can convert the JPEG to PNG format with transparency and start selecting the desired area using the magic wand or lasso tool. Finally, the transparent background can be finalized by using the Select > Subject option once again. By following these simple steps, anyone can easily create stunning images with transparent backgrounds in Photoshop.
6. Using the Remove Background option to strip the background
After opening an image file in Photoshop and duplicating the background layer, the next step to creating a transparent background is to remove the existing background. This can be done quickly by using the Remove Background option, which can be found in the Properties panel after clicking on the layer. This option strips away the background, leaving the subject intact on the new layer. This is a quick and effective method, especially for images with a uniform background. However, if the image has a complex background, it may require additional tools and techniques to achieve a perfectly transparent background. Once the background is removed, the user can then export the image in PNG format, which supports transparency. Overall, creating a transparent background on Photoshop allows for greater flexibility in design and presentation, and is a skill that any graphic designer or content creator should master.
7. Converting JPEG to PNG with transparency in Photoshop
After removing the background from an image in Photoshop, the next step is to convert the file to PNG with transparency. This is done by saving the edited image as a PSD or PNG file format, which will preserve the transparency. Then, the transparent area of the image can be edited further or manipulated in another program. To make the transparent area stand out, users can add a color or texture to it. Once everything is in place, the finished PNG file with a transparent background can be uploaded or shared wherever it is needed. Overall, converting JPEG to PNG with transparency in Photoshop is a crucial step in creating a professional and polished image.
8. Making the transparent area in the image
Now that the background has been removed from the image, it’s time to make the desired area transparent. This can be done using the magic wand or lasso tool to select the area that needs to be transparent. Once the area is selected, go to the Layer panel and click on the Layer Mask icon. This will mask the selected area, making it transparent. If there are any residual areas that need to be removed, select the Eraser tool and carefully erase those areas. It’s important to take the time to ensure that the image looks clean and professional. Lastly, use the Select > Subject option to finalize the transparent background. With this final step, the image will have a beautifully transparent background that can be used in a variety of applications.
9. Selecting the desired area using the magic wand or lasso tool
To create a transparent background on Photoshop, the user needs to select the desired area using the magic wand or lasso tool. The magic wand tool is the easiest tool to make a selection in Photoshop, especially when the background is a solid color. It selects all the pixels in a similar color. On the other hand, the lasso tool is useful when keying in areas with non-linear outlines. Users can contour the area they want to keep by selecting the lasso tool, clicking on the point where they want their selection to begin, and creating an outline. After contouring the desired area, users can finalize the transparent background by using the Select > Subject option. By doing this, Photoshop will automatically select the subject from the background and create transparency in the image. This step is crucial in creating a transparent background that looks seamless with the image subject.
10. Finalizing the transparent background with Select > Subject option.
Now that you’ve removed the background from your image using the magic eraser tool, it’s time to finalize your transparent background using the Select > Subject option in Photoshop. This option automatically selects the subject of your image and creates a layer mask to hide the background. To use this feature, simply go to the Select menu and click on Subject. Once you’ve selected your subject, use the magic wand or lasso tool to make any final adjustments to the transparent area of your image. By following these simple steps, you can easily create a professional-looking product image or logo with a transparent background on Photoshop.